
Hey, what answers do you need?
Proxy Groups
Session splitter allows you to assign proxy groups to the profiles. This is very useful if you want to create groups of proxies for specific purposes.
For example, a group for YouTube, a group for social media accounts, or a group for a client’s project of local SEO, etc.
How to open proxy group settings
✦ Open Session Splitter, and sign in with username and password.
✦ Click ‘Proxy Groups’ in the left blue section.
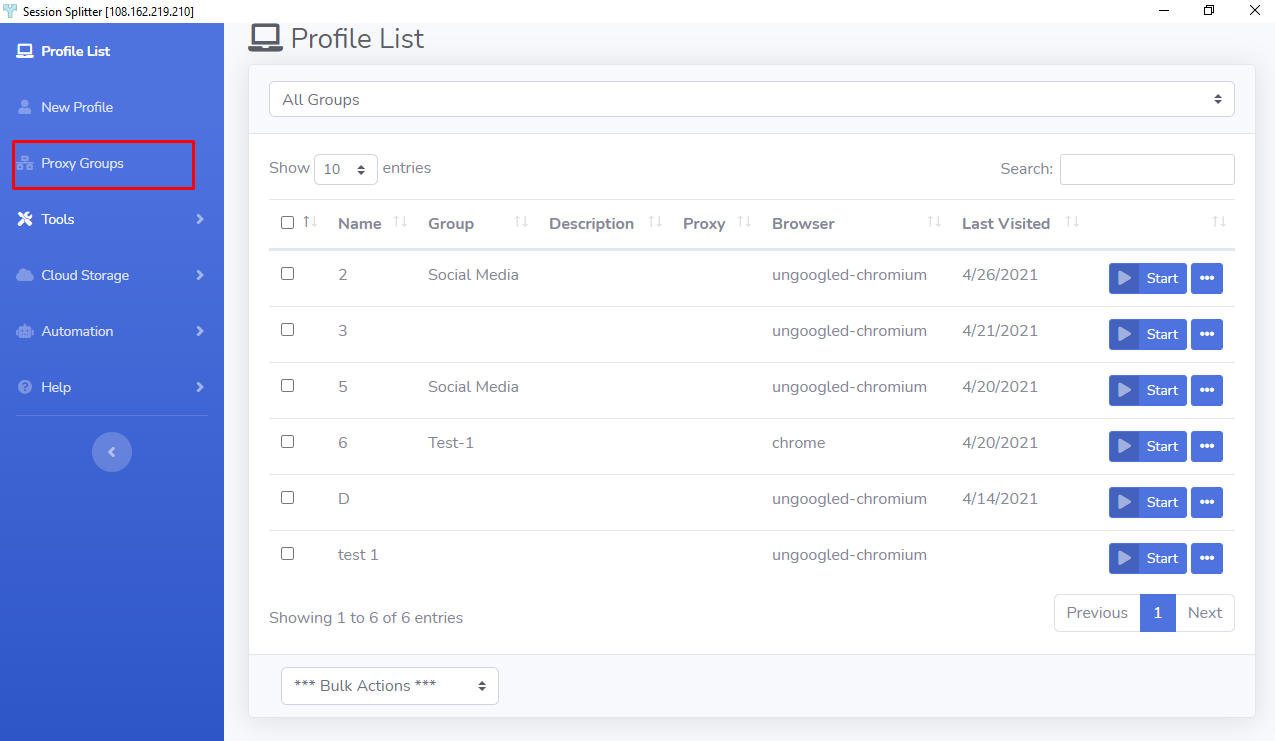
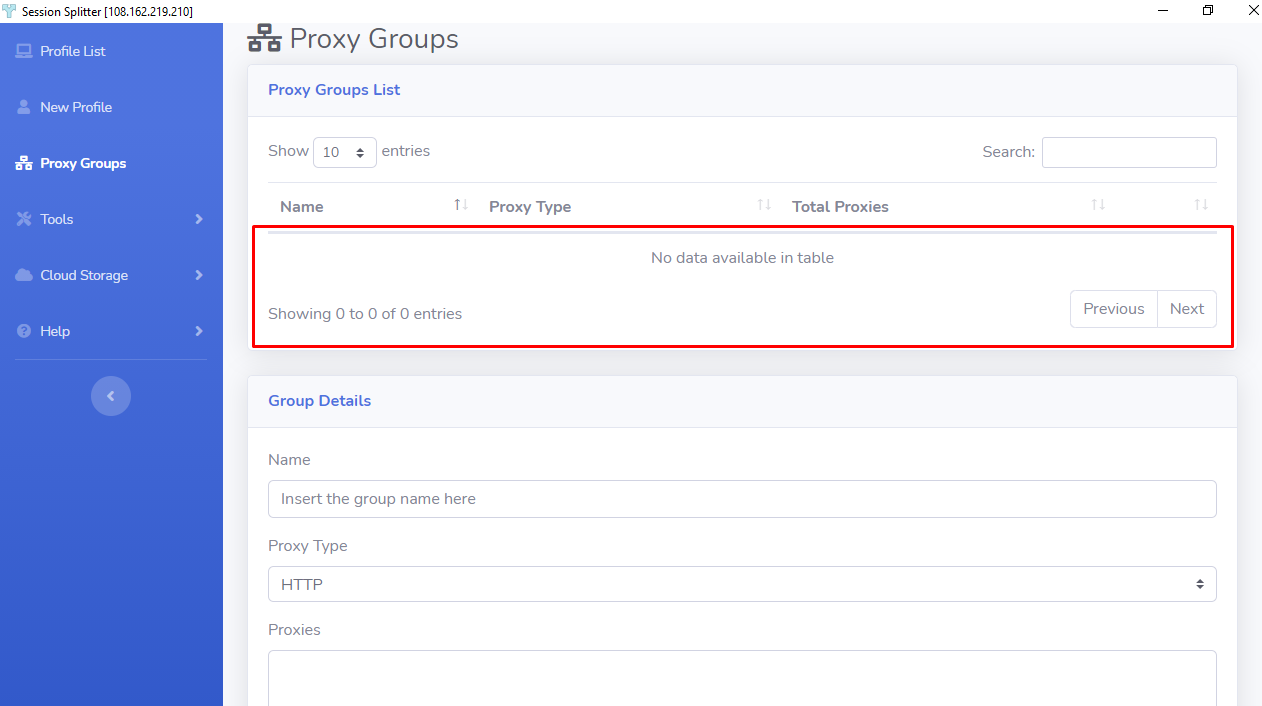
✦ You will land on the Proxy Groups screen.
✦ There are two sections- ‘Proxy Groups List’ and ‘Group Details’. In the first section, you’ll see a list of proxy groups. If you are here the first time, the list will be empty.
How to create a new proxy group
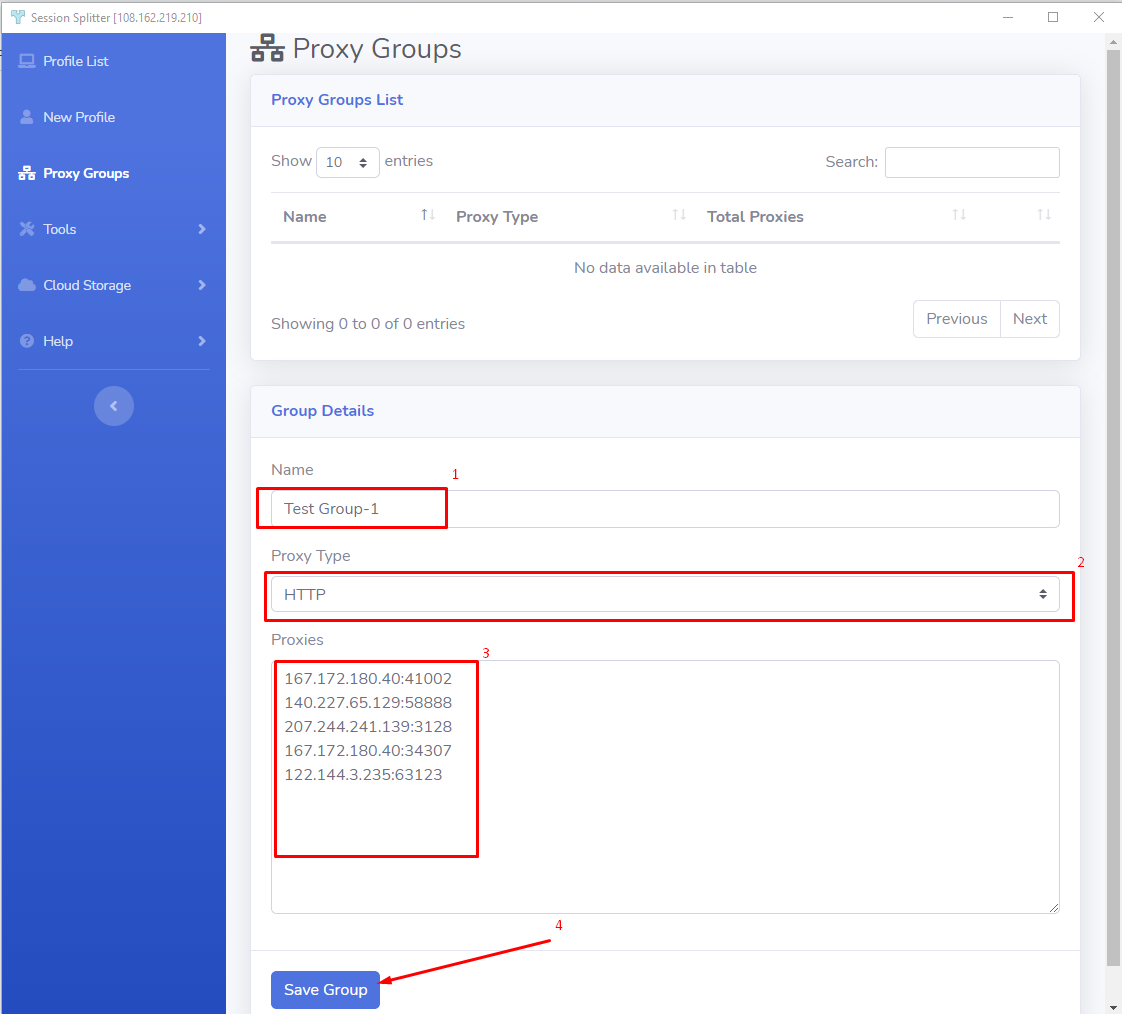
✦ In the second section(Group Details), Click in the Name field and enter a new name to create a group.
✦ Select proxy type among HTTP, SOCKS 4, and SOCKS 5.
✦ Now enter proxies in the ‘Proxies’ field, each in a new line.
Format for the proxies-
IP : PORT
✦ When you are done entering proxies, hit ‘Save Group’ button at the bottom to create the group.
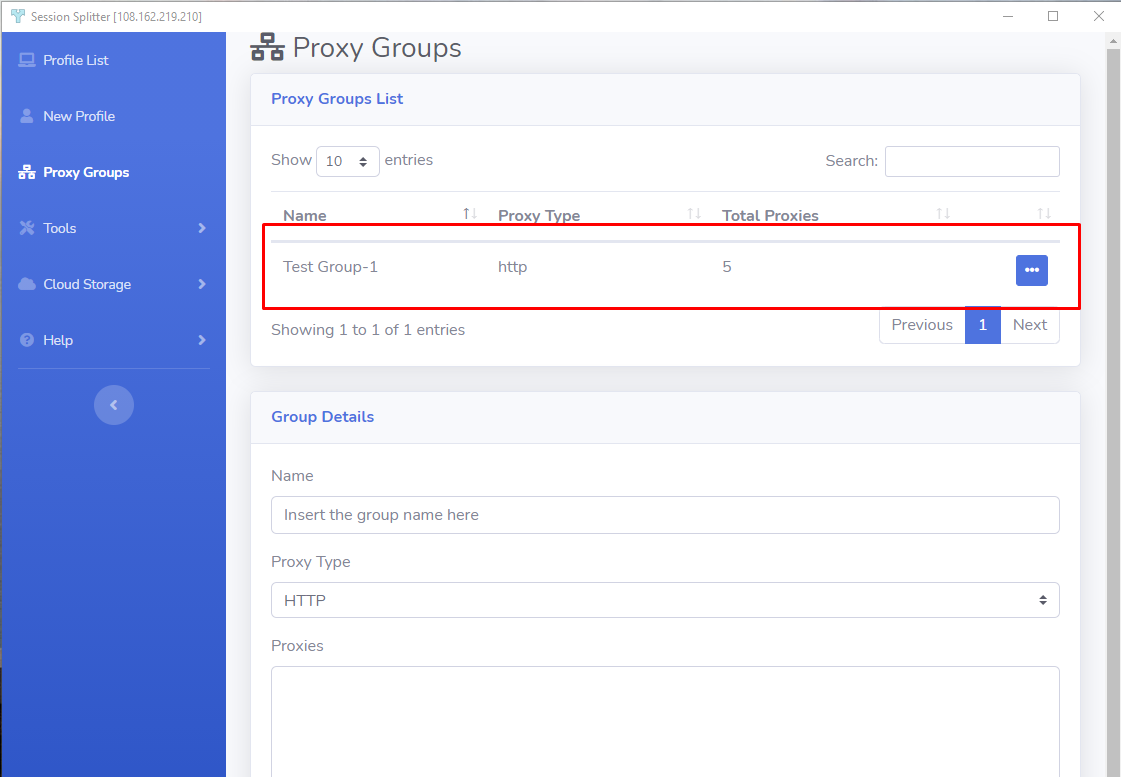
✦ Now you will see that the newly created group is listed in the ‘Proxy groups’ section.
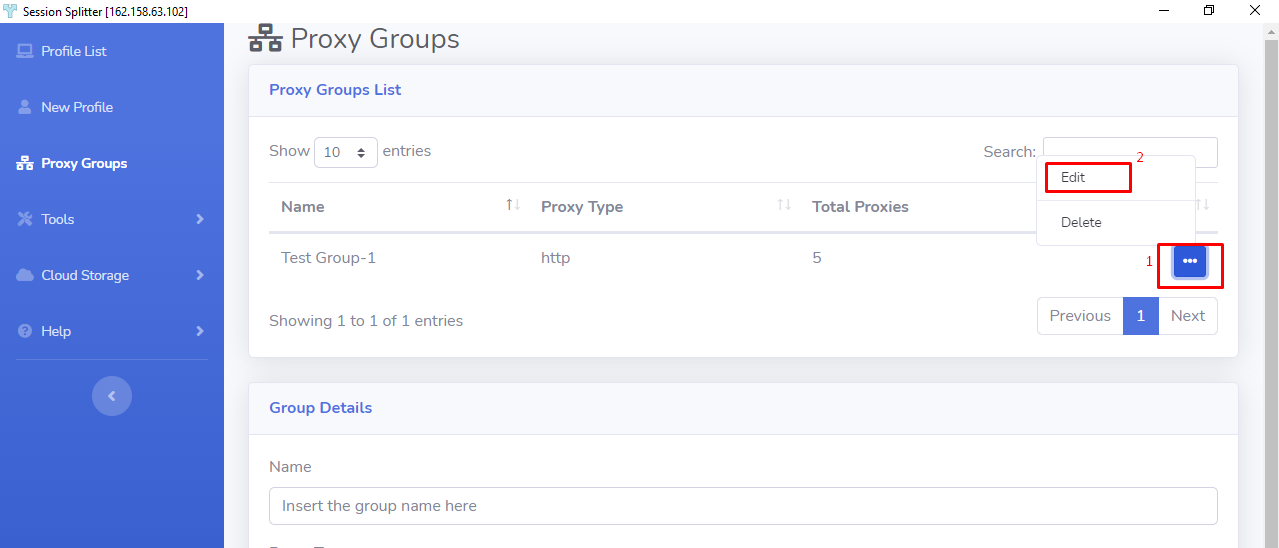
How to edit an existing proxy group
✦ Go to ‘Proxy Groups List’ and click on the three dots menu and then click on ‘Edit’.
✦ Now the ‘Group Details’ selection will load the group details. Make any changes related to Name, Proxy Type, and Add or Remove proxies and then hit the ‘Save Group’ button to save the changes made.
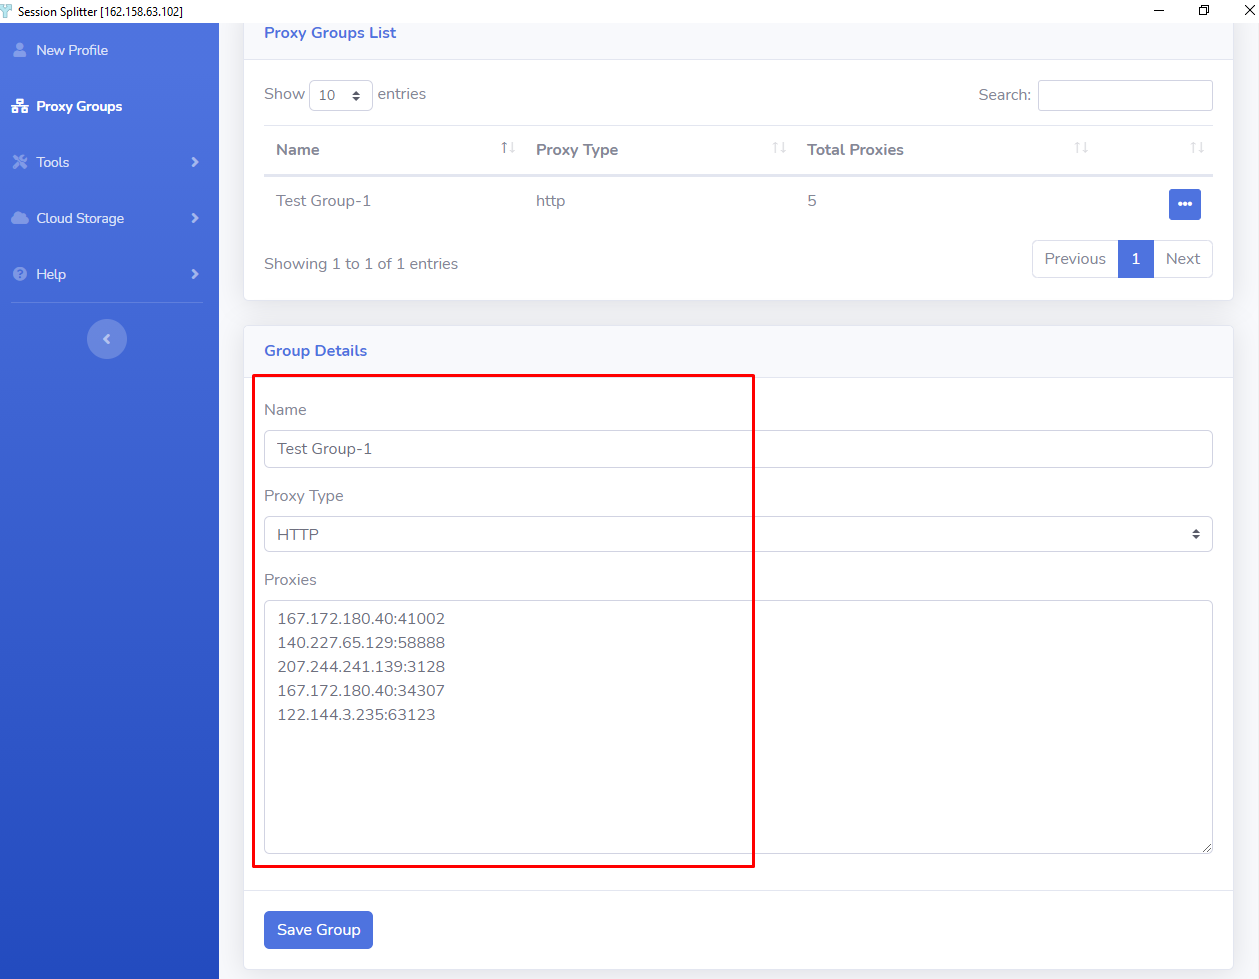
✦ Remember that if you change the group name, the changes will be saved into a new group. If you want to rename the same group, go to edit group and enter new name. It will save a new group, now delete the original group.